- September 30, 2021
- Ashley Libath
I had this idea…
It started whenever I asked clients what they thought their “style” was, or even when people ask ME what my “style” is.
There tends to be a hesitation to verbalize the look you are, or the look you’re going for in your home.
It takes confidence to put into words what you like because it feels very defining and most people don’t want to be defined or judged in just a few words. At least I don’t.
As humans, we are so much deeper rooted and multi-layered than saying “beachy” or “modern” or “retro”.
Yes, those adjectives may give a general idea of what your style is, but I believe that creating spaces should be more than just a “style”. It should reflect those roots and layers in a way that translates through design.
So how do I figure all that out with clients? Take away the words!
Don’t ask: “What’s your style?” and they won’t have to squirm in their seat trying to impress or figure themselves out in a few words. After all, they are coming to me for design help!
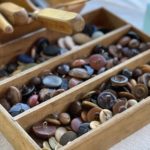
The easiest way to understand is to connect. So I’ve gathered all these objects and samples and curiosities to display and ask clients: Which do you like? What object triggers happy memories? What makes you feel calm? Is there something here that resonates with you?
The idea was born, but then, how will I present this to clients in a way that makes sense and doesn’t feel chaotic and confusing and chic?
It took some thought, a ton of emails, some beta tests but here is the story of where I landed.
The Making of the Method Trays
I first thought the best way to have the objects pop was to display them on a crisp white surface.
Lacquer! Yes, I’d get lacquer trays and see if I could find lacquer dividers to keep it uniform and clean.
The trays were not the issue, I found them right away. The dividers, however, were very tricky to source.
I spent multiple hours googling, emailing trade sources, and finally came upon a company that makes custom lacquer trays.
I sent them specs on the sizing of the compartments and waited to get the quote back. This company was based in London and was amazing to work with.
They were excited about the project but gave me a warning about the price considering template molds would need to be made in order for the tray to be one complete piece. I understood and waited for the quote.
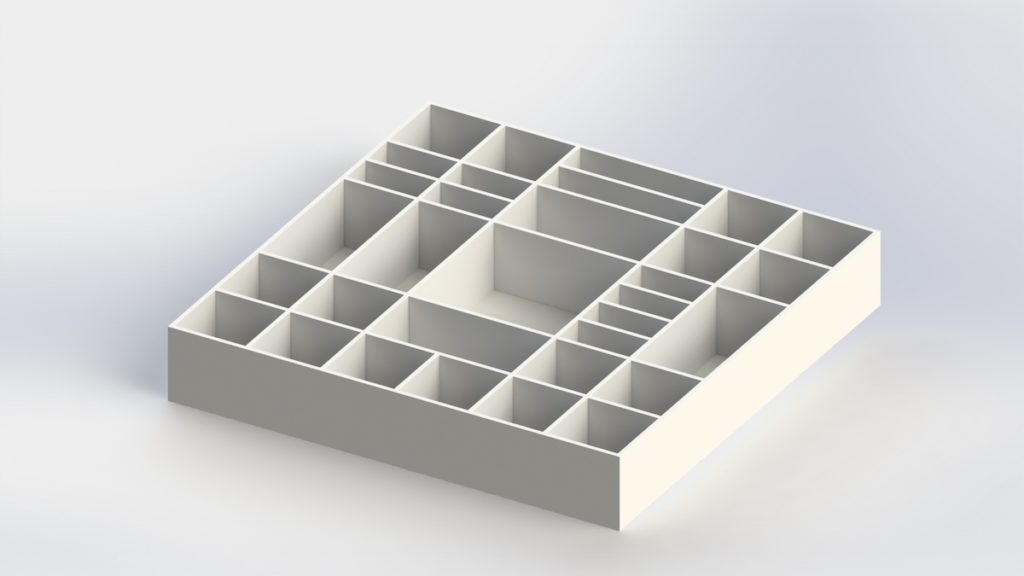
Hold your breath: $2175 per tray! I wanted 3 so $6525 plus shipping was NOT a number I was prepared to invest on a concept I hadn’t even proved to be successful yet!
Here is the mock-up of what they sent:
Back to the drawing board.
In the midst of bringing this activity to life, my website was being developed by the amazing and talented Nicole Heymer of Curio Electro.
I explained to her the theory and she was excited about it also (or maybe she was just being nice… haha!) I actually think she understood what I was going for and had the thought of making the dividers a contrasting material. Wood.
Ok, now I had to find a carpenter to make these for me. Seemingly easy, but tedious, and finding a carpenter to take on this little project during a construction boom….damn near impossible.
All my contacts were just too busy for this time-consuming task. Now what… The time was ticking on bringing this to fruition as I wanted it to be a feature on my website.
Next idea: Vintage Printers Trays!
Yes, that would work. They have small compartments and actually go nicely with my overall brand of incorporating vintage in my designs.
Not the original look I was going for, but PIVOT! I ordered 3 off Etsy and they arrived very quickly.
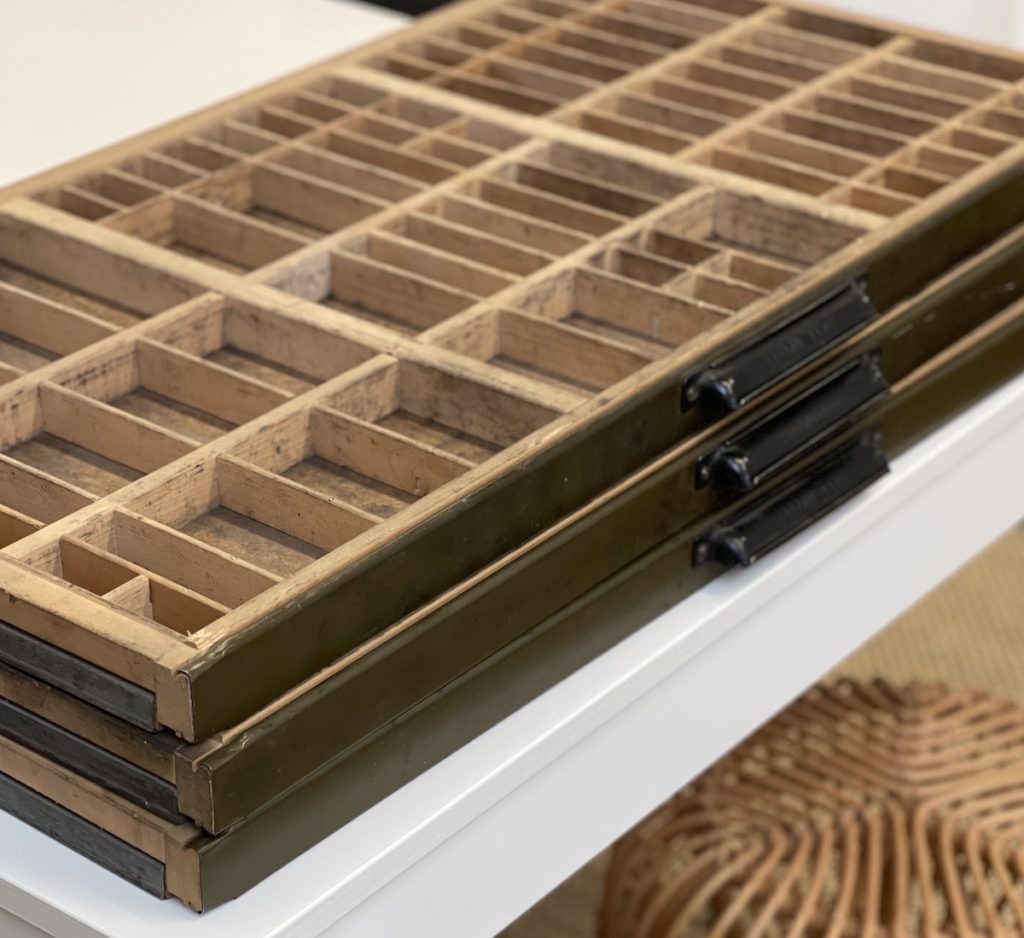
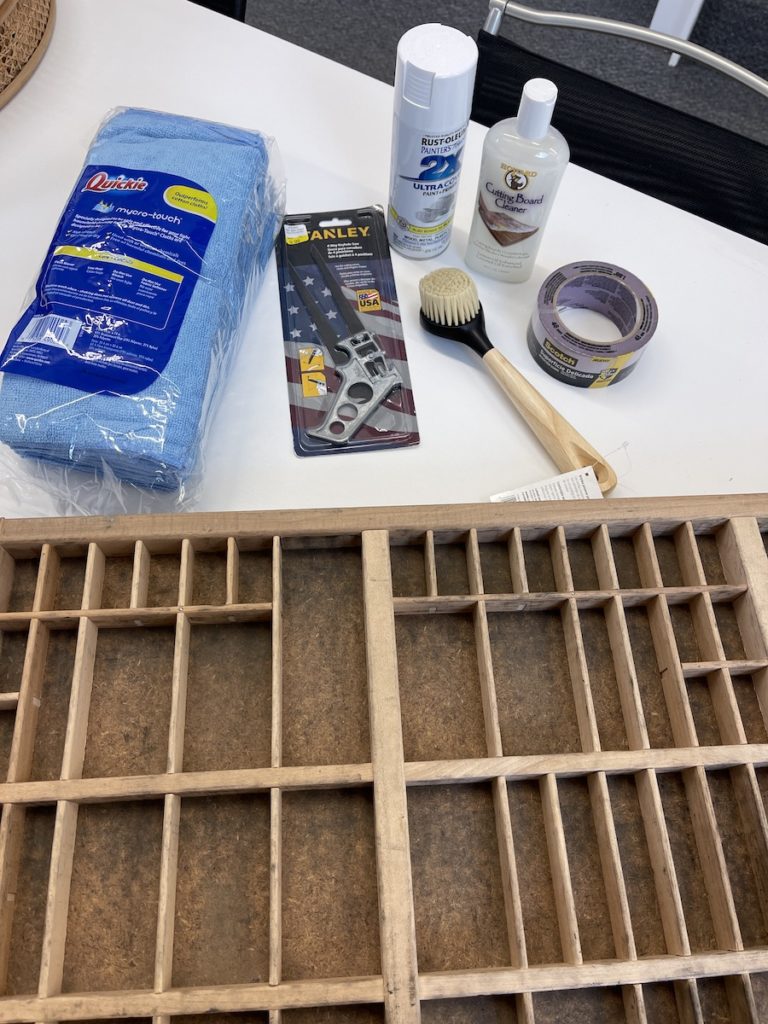
They are beautiful but very dirty. Off to the hardware store to get cleaning supplies and paint… I thought I could spray paint the inside white.
Ten minutes into this project I had the thought that if I invested all this time, it better be exactly what I wanted it to look like. Which was clear, it was not.
Feeling defeated and under the gun to get this figured out, I finally decided that I could in fact make the dividers myself and use the lacquer trays just like the original intended look.
I don’t know if it’s the stubbornness in me or that I like to prove to myself that I can do anything, but off to Home Depot I went to gather the supplies.
I called my husband to see if by chance we owned a miter saw—we do!
I bought the wood (which conveniently came in .25”x48”), the stain (because I wanted the color to be a rich walnut-looking color), and some wood glue and off I went. Click here or see below for the step-by-step video!
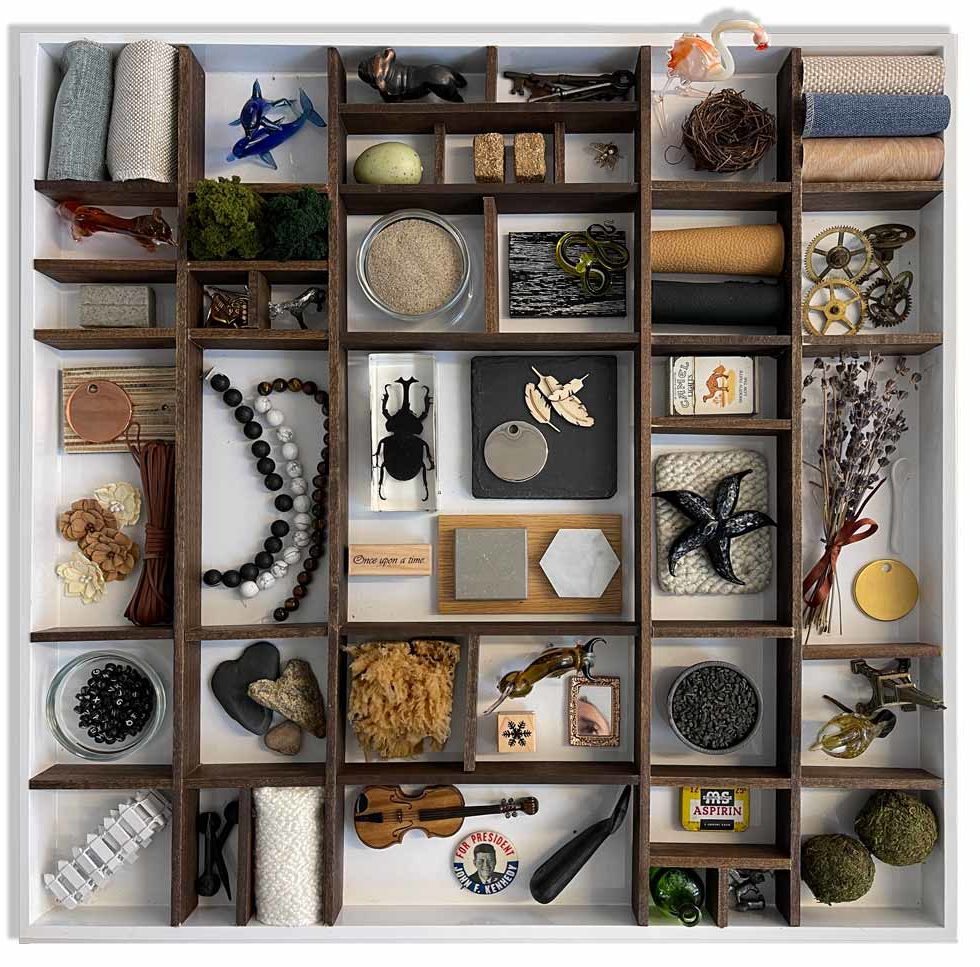
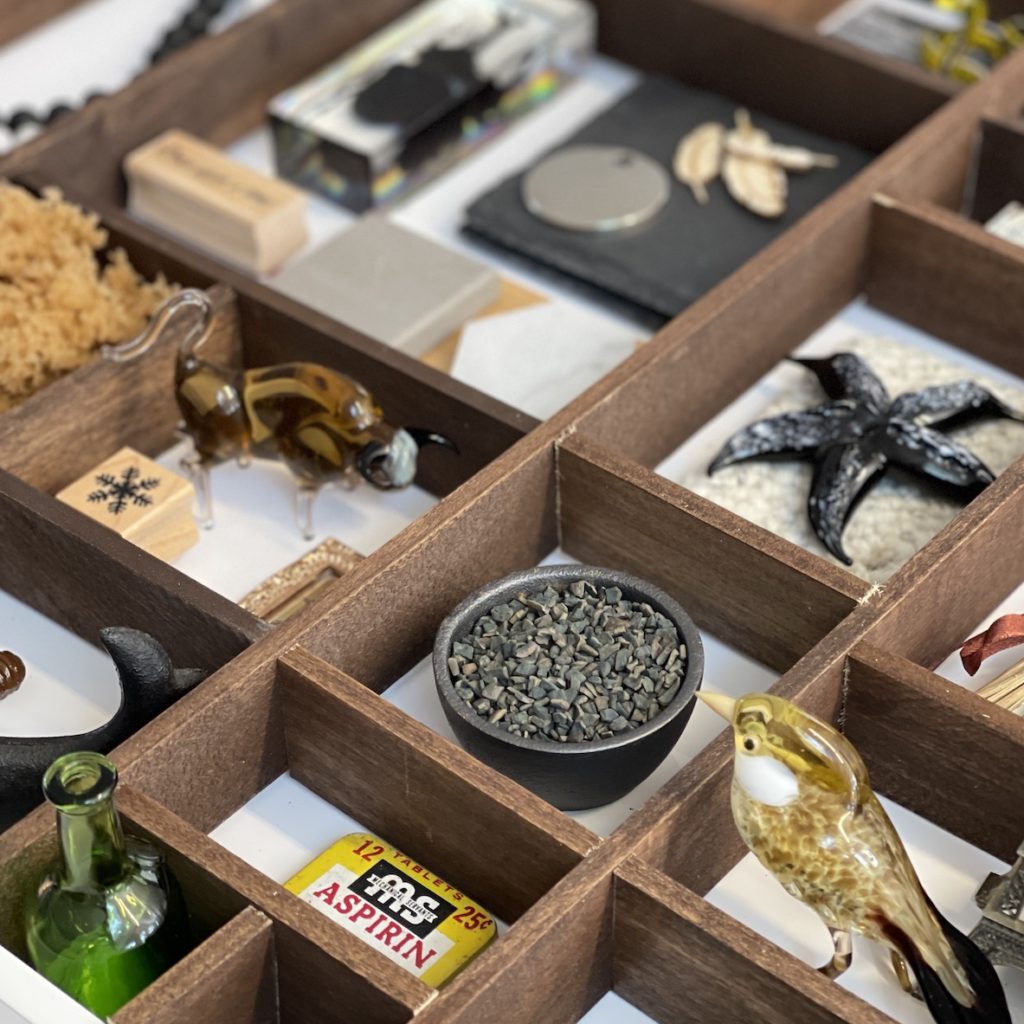
In the end, I’m thrilled with how they came out and can’t wait for my clients to experience The Method!
Here they are loaded up with all the treasures I’ve found throughout the years! If you ever come across any little trinkets, save them for me! I plan to switch these out often.
Moral of the tray story is: Go with your vision!
Ready to bring your vision to life? Let’s talk.